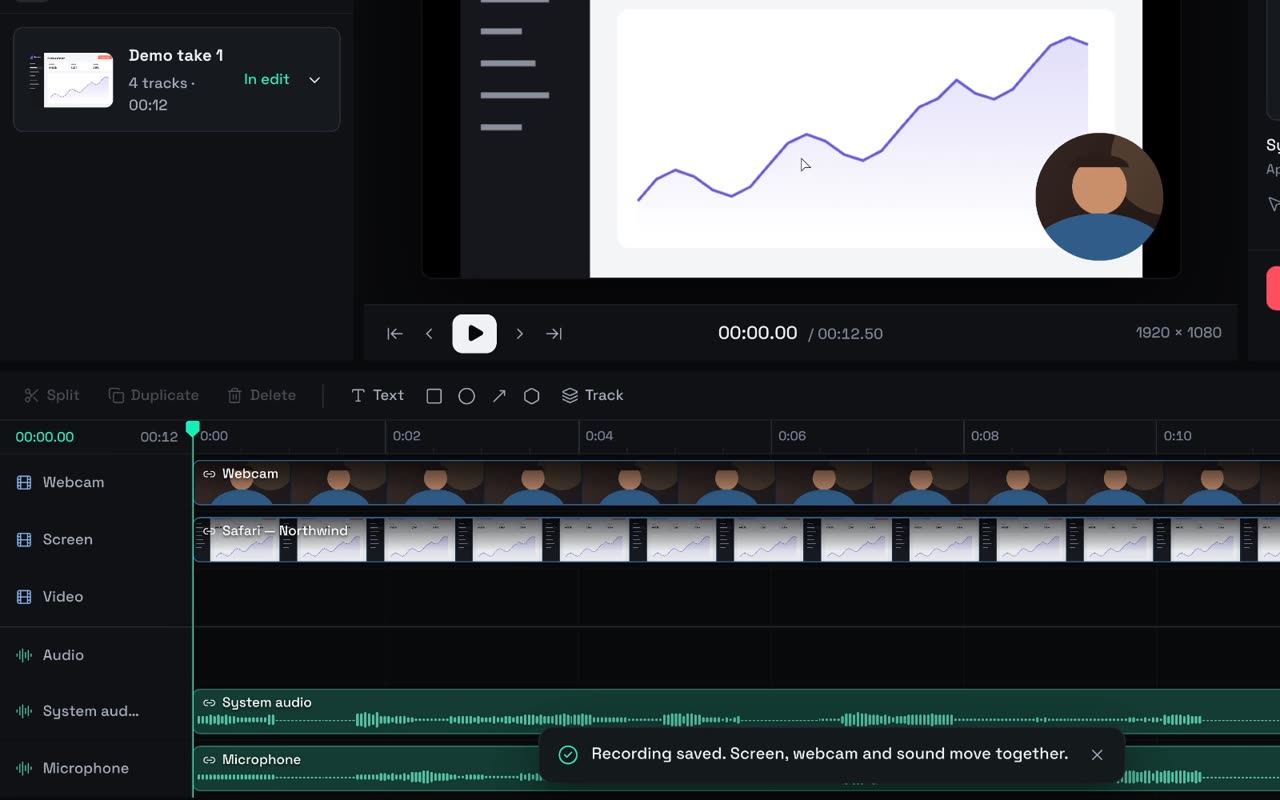
Studio doesn’t ship an AI of its own. It hands a set of editing tools to the coding agent you already use and trust. There are two ways in, and you can use both: the Agent panel inside Studio, or your own terminal. A few minutes from now, your agent will be cutting your footage.
Pick your door
| Agent panel (inside Studio) | Your terminal | |
|---|---|---|
| Agents | Claude Code, Codex | Claude Code, Codex, OpenCode |
| Where you type | The Agent tab in Studio’s left pane | Your usual terminal session |
| What it can do | Read the project, look at frames, edit the timeline, build custom tools, prepare a paid generation | All of that, plus create and open projects, import files, record, export, and approve paid generation |
| Who approves spending | You, in Studio, every time | Your agent, after you agree in the conversation, inside a daily limit you set |
| Best for | Polishing while you watch | Hands-off runs: “turn this file into a launch video” |
Before you start
- Studio on macOS 15 or later, on Apple Silicon. Download it. It’s free, and editing needs no Hubfluencer account.
- Your agent, installed and signed in: the
claude,codexoropencodeyou already run in Terminal. The Agent panel takes Claude Code or Codex. The Claude desktop app or the ChatGPT app alone isn’t enough; their built-in agents are private to those apps. - Nothing else. No Node.js, no npm, no adapter. Studio carries its connector inside the app.
Your agent keeps its own account, settings and usage terms. That account is separate from your Hubfluencer account.
Door 1: the Agent panel
1. Open the Agent tab
Open a project, or pick Help ▸ Open Sample Project to play with the bundled one. Choose Agent in the left pane, or press ⌘K (Ask your agent). Pick Claude Code or Codex from the menu at the top of the panel, then choose Setup & sign-in. The guide has three steps: Install, Sign in, Connect.
2. Install
Studio looks for the copy you already use in Terminal and shows Found Claude Code with its version, path and how it was installed. It only starts the vendor’s own signed program: Anthropic’s for Claude Code, OpenAI’s for Codex.
If nothing qualifies, the guide says “Studio couldn’t find a copy of Claude Code it can use on this Mac.” It lists any copies it found but can’t use, with the reason. Then you have three options:
- Install for me runs the vendor’s official installer once you confirm, and shows its output right in the guide.
- Copy command & open Terminal does the same thing by hand.
- Choose agent executable… points Studio at an unusual install location. It still has to be the vendor’s signed program.
3. Sign in
- Claude Code: choose Copy sign-in command & open Terminal. It copies
claude auth login. Paste it, finish in your browser, and wait for Terminal to confirm. - Codex: choose Sign in with ChatGPT and finish in your browser. Prefer Terminal? Run
codex login.
Already signed in? Choose I’m signed in — continue. Studio never asks for your password or a token.
4. Connect
Choose Connect to Claude Code (or Codex). The first time, Studio asks Allow Studio to start Claude Code? and spells out the deal: your agent runs outside Studio’s sandbox with its own permissions, and Studio shares only the open project, through its tools. Choose Allow. Once the status says Ready, type into the composer:
Look at my recording and tell me where the dead time is. Don't change anything yet.
The composer also shows your agent’s own model and thinking pickers. Each project keeps its conversation, so reopening Studio brings it back. New conversation starts fresh.
Tip
Changed your mind? Settings ▸ Agents has an Allow Studio to start… switch for each agent.
Door 2: your terminal
1. Keep Studio in Applications
Your agents register a path inside the app, so Studio has to live in your Applications folder. A copy running from the disk image refuses to set up and asks you to move it first. If you move Studio later, it offers to fix your agents’ registrations (Update Them).
2. Run the installer once
Open Settings ▸ Agents. Under Drive Studio from your terminal, choose Set Up Agents Now. Or choose Copy and Open Terminal, which copies the exact command for your copy of Studio, and paste:
"/Applications/Hubfluencer Studio.app/Contents/Helpers/hubfluencer-studio-mcp" install
It finds claude, codex and opencode on your PATH and adds Studio’s MCP server through each agent’s own mcp add. Then it installs the hubfluencer-studio skill and prints one line per agent, like “Claude Code: Studio’s MCP server added, skill installed.” It touches nothing else in their configuration.
statusreports what’s registered.uninstallremoves exactly whatinstalladded.- To set up only one agent, name it:
install codex. - Or add it to one agent by hand, in the same Settings section, shows each single command.
3. Say hello
Start a new session in your agent:
Make a 20-second launch video from ~/Desktop/demo.mov with Hubfluencer Studio.
The first tool call opens Studio in the background. Studio asks whether to let that agent control Hubfluencer Studio, and the prompt says how much it may approve per day. You get three choices:
- Allow: this agent, until you quit Studio.
- Always Allow: coding agents on this Mac, from now on.
- Don’t Allow.
Agents that support MCP prompts also offer three ready-made ones: launch_ad, polish_take and export_for_social.
4. Set the spending fence
Local editing and export are free. Paid generation (images, video, music, voice) works like this: your agent asks for a quote, tells you the price, and approves only after you agree. Every approval carries a max_cost, so Studio refuses anything pricier than what you agreed to. It also refuses anything past Daily limit for agent approvals in Settings ▸ Agents ▸ Spending. The limit starts at 10.00 in your account’s currency (EUR, USD or GBP), and Approved by agents today shows what’s been used. Set it to zero, and you approve every charge yourself in Studio.
What your agent can and can’t do
- It can read your project, look at frames, and make edits. Each edit is one undo step. It can also build you custom tools. From the terminal, it can also open projects, import, record, export and generate.
- It can’t get files or a terminal through Studio. Studio offers neither. Your agent’s own tools, like its shell and file edits, still run with the permissions you gave it. Studio isn’t a sandbox for your agent, so connect agents you run yourself.
- The Agent panel never spends. It prepares a generation review, and only you can choose Approve.
- Undo is yours. In the panel, ⌘Z takes back one edit at a time. A terminal agent shows up as a pill with its name in Studio’s top bar. Open it, or the card at the top of the Agent tab, to see its recent actions. Undo agent changes takes back its latest steps in one go and stops at your own edits. Disconnect cuts it off on the spot. Settings ▸ Agents ▸ Disconnect agents and forget permission does it for every agent.
Note
If the panel says “Studio’s agent connector is damaged. Reinstall Studio.” or “Studio was updated on disk. Quit and reopen Studio, then connect again.”, do exactly that. Retrying won’t help. If your sign-in expired, choose Reconnect. Your unsent request stays in the composer.
Next
- Polish a recording with your agent: prompts that work in the Agent panel.
- Drive Studio from your terminal: a full session, from raw file to MP4.
Away from your Mac? Your agent can use the cloud Editor through MCP. See the developer portal.