You built something worth showing. In the next ten minutes you’ll install Hubfluencer Studio, record your app running, cut it down to the good part, put a title on it and export an MP4 you can post today. No account, no card, no render queue. It all happens on your Mac.
What you’re making
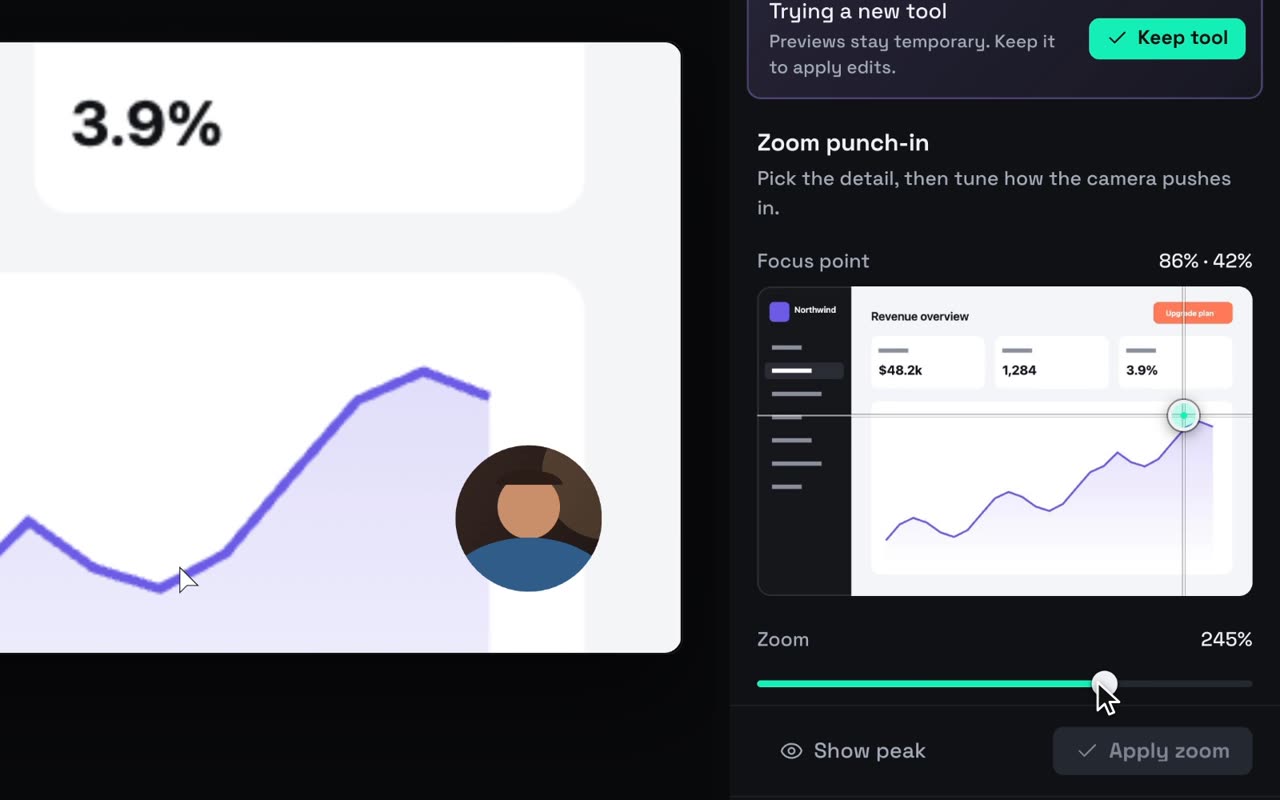
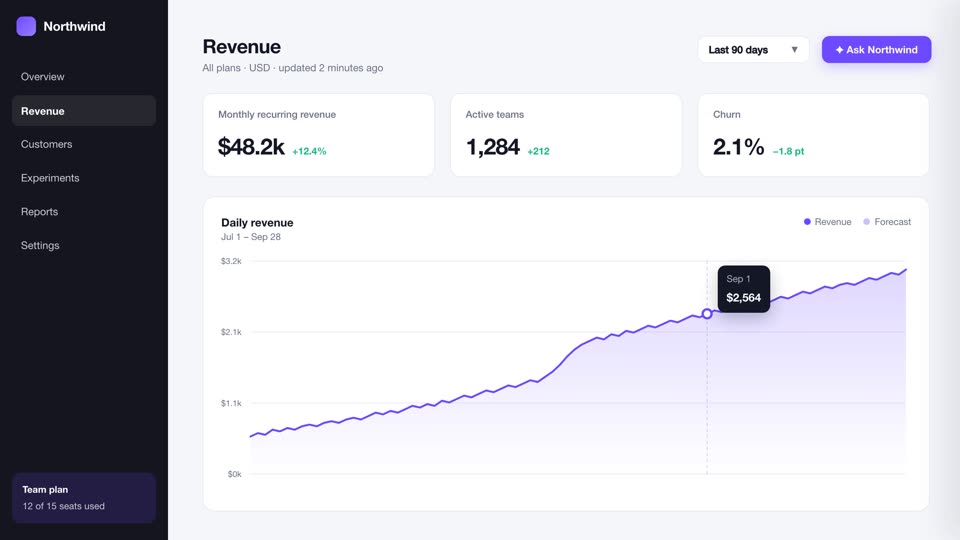
Here’s the before and after. Both ship inside Studio as the sample project, so you can open Help ▸ Open Sample Project and take this exact edit apart.
Your first pass will be simpler: a trim, a title and an export. The zooms can come later, from you or from your agent.
Install Studio
You need a Mac with Apple Silicon running macOS 15 or later.
- Download Studio from /download/studio. It’s a disk image.
- Open it and drag Hubfluencer Studio into your Applications folder.
- Open Studio from Applications.
If you launch it straight from the disk image, Studio asks you to Move Hubfluencer Studio to Applications. Do it: updates and coding agents need it there.
Get through the first launch
A short welcome tour opens first: recording, agents, generation, then free vs licence. Click Next through it or Skip tour. On the last page, Start free is all you need. Every feature works, with no time limit. Free exports just carry a small badge.
Next, Studio asks one question: Share anonymous usage statistics? Both answers are the same size, and both are fine. You can change your mind later in Settings ▸ Privacy.
Then you land on Projects home: What are we making today?
The permissions Studio asks for
macOS asks for each permission the first time Studio needs it, not before.
| Permission | When macOS asks | What it’s for |
|---|---|---|
| Screen & System Audio Recording | The first time you choose a screen or window to record | The picture, and your Mac’s sound |
| Microphone | The first time you test or record with a microphone | Your voice |
| Camera | The first time you preview or record with a camera | Your webcam bubble |
Said no by mistake? Open System Settings ▸ Privacy & Security ▸ Screen & System Audio Recording, turn on Hubfluencer Studio, and quit and reopen Studio when macOS asks. Microphone and Camera live in the same Privacy & Security list.
Note
Every so often, macOS asks whether Studio may keep recording the screen. If that prompt appears just as a take starts, Studio holds the take and shows Waiting for macOS permission…. Allow it and a fresh countdown starts, so the prompt never ends up in your video.
Make a project
Click New project (or File ▸ New Project…, ⌘N). In the Create a Studio project dialog, give it a name and pick a Format:
- Landscape · 16:9 (1920×1080) for your site, YouTube, X or LinkedIn.
- Portrait · 9:16 (1080×1920) for TikTok, Reels and Shorts.
You can’t change the format later, so pick the one you’ll post first. A project is a .hubfluencer folder. Media you add is copied into it, and your edits save automatically.
Record your app
On the empty project, Start your edit offers three paths. Choose Record. (Later, it’s also in the Media tab.) The Record demo panel opens.
- The first time, click Choose a screen or window. macOS asks for Screen Recording permission.
- In Choose what to record, pick your app’s window. Windows are grouped by app, each with a picture, and you can type to search. A window is cleaner than a whole display: only that window is recorded, nothing around it. To switch later, click the source card and choose Change.
- Leave Microphone on No microphone · narrate later for this first video. If you want your face in it, pick a Camera and a bubble style.
- Turn on System audio if your app makes sounds you want to keep.
- Click Preview screen & camera to check the framing, then Record after 3-second countdown.
Switch to your app and do the one thing you want people to see, at a calm pace. A small floating bar has Pause, Keep & restart and Stop & edit, and it never shows up in your recording. Waiting for something to load? Pause, then Resume. Paused stretches don’t end up in the take.
Click Stop & edit. You’re back in Studio with Your take is saved, and the take sits on the timeline: screen, webcam, microphone and system audio, each on its own track and linked together.
Tip
Do one dry run before the real take, and keep it under a minute. Short takes are quicker to cut.
Trim it on the timeline
Press Space to play. ← and → step one frame; add ⇧ to jump a second.
- Cut the slow start and the tail. Click the recording; its linked layers are selected together. Drag its left edge right and its right edge left. Edits don’t ripple, so the trimmed start leaves a gap. Drag the clip back left and it stops at zero.
- Remove a dead stretch in the middle. Put the playhead where it starts and press ⌘B (Split). Move to where it ends and split again. Click the middle piece and press ⌫. Then drag the next piece left to close the gap. Snap pulls it onto the edge.
- Zoom the timeline with ⌘-scroll or a pinch. Fit shows the whole thing.
Trimmed too much? ⌘Z undoes anything.
Add a title
Put the playhead where the title should appear and click Text in the timeline toolbar. With nothing selected, you get a five-second text layer on its own track. With a clip selected, the title takes that clip’s timing and moves with it.
In the Inspector’s Text section, type your line (“Know why your revenue moved.” in the sample), set its Size, and pick a Fill color. A dark Stroke keeps it readable over any screen. Move it with Position in the Layout section; you can drag a value’s label to scrub it. Drag the layer’s edges on the timeline to set how long it stays.
Studio doesn’t transcribe speech. Titles are text you write, or that your agent writes.
Export
Click Export at the top right (⌘E). The Export MP4 dialog opens in your project’s exports folder with the project’s name filled in. Save it there or anywhere else.
Studio renders on your Mac. A toast shows Rendering your video… with a percentage, then Checking the finished video…. Your project stays saved and editable the whole time. When it’s done, Show in Finder takes you to the file: a 1080p H.264 MP4 at 30 fps, with AAC sound.
Free exports carry a small Made with Hubfluencer Studio badge in the bottom-right corner. The Studio licence removes it: Remove badge… on the finished-export toast opens Settings ▸ Licence. Export and share covers the details.
Or let your agent make the cut
Once your coding agent is connected, press ⌘K (Ask your agent) and say what you want. One line is enough for a take like the raw clip above:
Cut the waiting, zoom into the clicks, put a title on each step.
Every edit lands on the timeline, ready to tweak by hand or undo.
What it cost
- Time: about ten minutes, most of it recording and a retake.
- Money: nothing. Recording, editing and export are free and need no account. You only pay if you choose to generate media, and Studio shows that price before anything runs.
Next
- Connect the coding agent you already use: let Claude Code or Codex do the cutting.
- Record a demo that edits itself: every capture source, and the habits that make a take quick to cut.