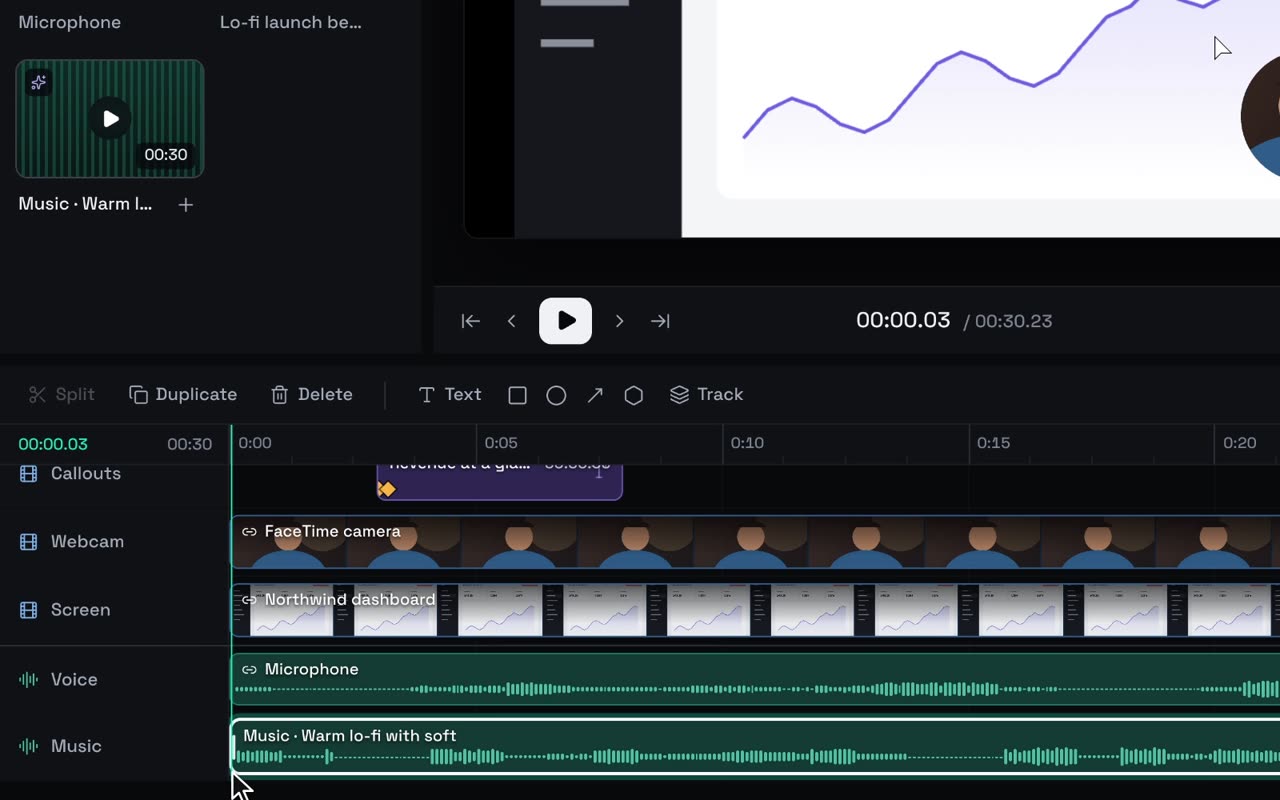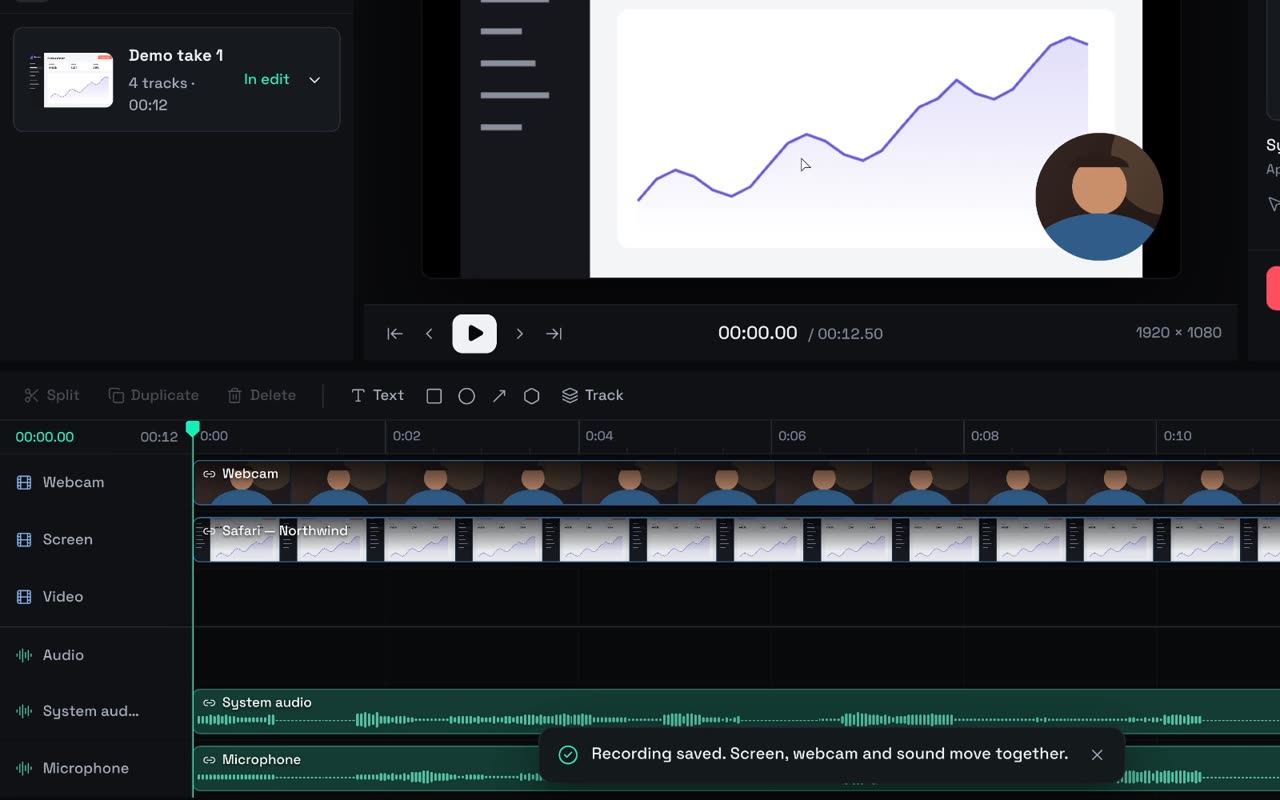
Got a photo of the thing you make? Studio’s Product ad panel turns it into a short vertical ad. The photo becomes a moving hero shot, an instrumental track scores it, and three lines of copy you can rewrite sit on top. You see the exact price before anything is generated, and nothing runs until you approve it. Here’s the whole run for Amber room mist: 15 seconds, €1.90.
What you need
- Studio on a Mac with Apple Silicon and macOS 15 or later. It’s free to download.
- A Hubfluencer account connected to Studio, with some balance. Recording and editing never need one, but generation does. If you’re not connected, the panel shows Connect account for generation.
- A photo of your product. Use your real product: the video is generated from this photo, so it should look like what people will actually receive. Good light, a calm background and the whole product in frame all help.
1. Start an empty portrait project
On the Projects home, choose New project. In the save dialog, set Format to Portrait · 9:16, the shape of Reels, TikTok and Shorts. A product ad starts from an empty timeline, so give it its own project.
2. Open the Product ad panel
Choose Create a product ad. It’s one of the three big buttons in the empty preview, next to Record and Import. You’ll also find it in Media, just below Record, Import and Generate. The panel opens with a promise: Start with a product photo. We’ll arrange the copy, video and music into an editable short ad.
3. Fill in the brief
Work down the panel:
- 1. Product photo. Choose a product photo… imports it, and a small preview shows how Studio will frame it for the ad.
- Product name, then One line about it · optional and Shop name · optional.
- 2. Look and feel. Pick Warm & calm, Clean & bright or Bold & vivid. Each one sets a direction for the video and one for the music.
- Length · portrait. From 5 to 15 seconds. Add instrumental music needs at least 10 seconds.
- 3. Review your copy. Studio writes three starting lines from what you typed: Opening, Message and Call to action. Rewrite any of them, up to 80 characters each.
- Adjust video and music direction opens the full text behind your look. Edit it if you know exactly what you want. Otherwise the defaults are written to keep your product’s shape, material and label, and to leave room above it for a headline.
Here’s what we entered for the example:
| Field | Our entry |
|---|---|
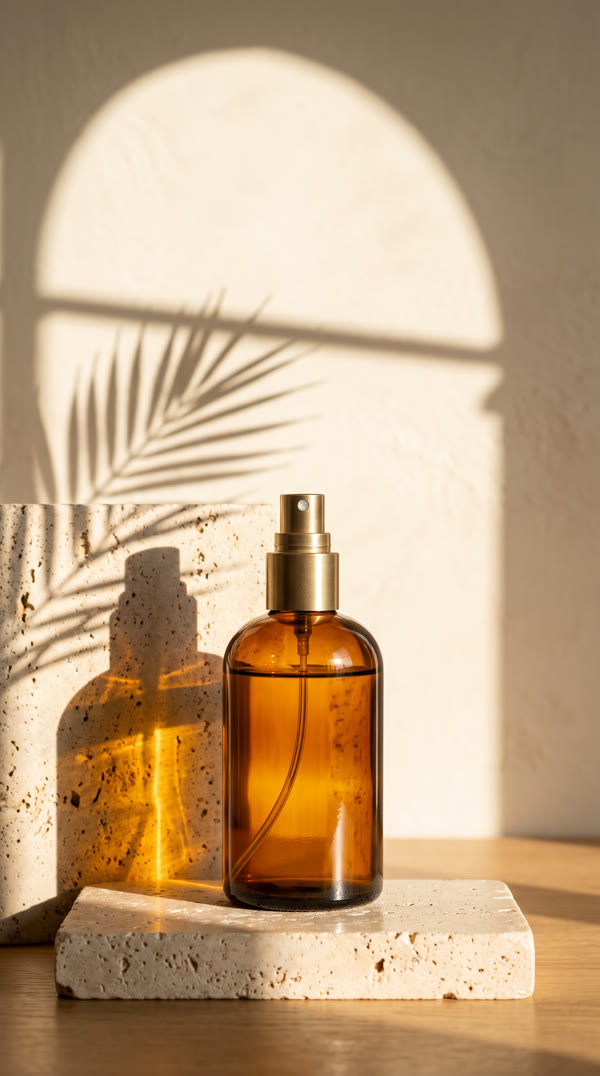
| Product photo | An amber glass bottle on travertine |
| Product name | Amber room mist |
| One line about it | Late sun, bottled. |
| Shop name | (left empty) |
| Look and feel | Warm & calm |
| Length | 15 seconds |
| Add instrumental music | On |
Studio turned that into Meet Amber room mist., Late sun, bottled. and Discover the collection, which is the call to action you get when the shop name is empty. We kept all three.
Note
Full disclosure: our bottle is itself a generated still, made for this demo, so there’s no real mist to buy. For your own ad, use a photo of the real thing.
4. Build the draft, for free
Choose Build my draft · free. In one undoable step, Studio lays out a storyboard on the timeline: your photo on a Product track (a stand-in for the video to come), the three headlines on an Ad copy track, and an Ad music track waiting for the score. The panel shows Storyboard ready · free.
Play it and read the copy at speed. Each headline sits near the top with a dark outline. To change the words, choose Edit copy on timeline, or select a headline and use Inspect for its text, size and colors. To change the look, length or music, choose Edit direction. None of this costs anything.
If you reframe the photo in a way that no longer fits the format, Fit product to frame appears. Use it before you review the price.
5. Review the price, then approve
Choose Review video and music price. Studio asks the server for an itemized quote, headed 2 requests · one approval. Each request shows its own price:
- Product video · added to your ad
- Background music · added to your ad
Below them you see the Total and your Balance, and how long the prices are held. Each item is charged when it starts, and a failed item is refunded. Choose Approve €1.90, or Not now to leave the draft as it is.
If your balance can’t cover the total, the button becomes Add … to continue with the missing amount filled in. It opens Add Funds with enough preselected.
6. Wait, play, export
The panel says Studio is creating and arranging your media. You can keep editing in the meantime, or even quit Studio: approved requests pick up again when you reopen the project. When both results arrive, the video replaces the photo and the music fits the ad with gentle fades.
Once you see Your ad is ready on the timeline, choose Play my ad, then Export ad. When an edit contains generated media, the Save dialog offers Show AI-generated content badge, which is on by default. As the dialog explains, the generated origin is preserved in the export’s credentials whether the badge is shown or hidden. Our film keeps the badge, top left.
The ad stays an ordinary timeline afterward. Trim it, swap a headline, drop your logo in, or add a recording of the product in use.
What it cost
| Item | Price |
|---|---|
| Product video, MiniMax H3 Max, 15 s | €1.80 |
| Background music, 15 s | €0.10 |
| Draft, edits, preview and export | Free |
| Total | €1.90 |
Other lengths, priced the same way:
| Length | Video | Music | Total |
|---|---|---|---|
| 5 s | 0.60 | not available under 10 s | 0.60 |
| 8 s | 1.00 | not available under 10 s | 1.00 |
| 10 s | 1.20 | 0.10 | 1.30 |
| 15 s | 1.80 | 0.10 | 1.90 |
Prices are the same number in euros, dollars and pounds, charged in your account’s currency. The server sets them, so the review always shows the exact figure before you approve. Exports from free Studio carry a small badge. The Studio licence removes it.
Top up your balance
- In Studio: click the balance in the top bar to open Account & Billing, then choose Add Funds…. Pick a preset or type a whole amount, and pay in the secure checkout that opens inside Studio.
- From a review: Add … to continue opens the same Add Funds window with the missing amount preselected.
- On the web: choose Add funds in Settings in the Hubfluencer web app at app.hubfluencer.com.
Your account has one currency: euros, dollars or pounds. A Studio licence purchase also includes some balance to start with.
Next
- Music, voice and generated shots: every kind of generation in Studio, the full price list, and when to use them.
- Have your agent build you a tool: a brand lower third you can drop on any ad.