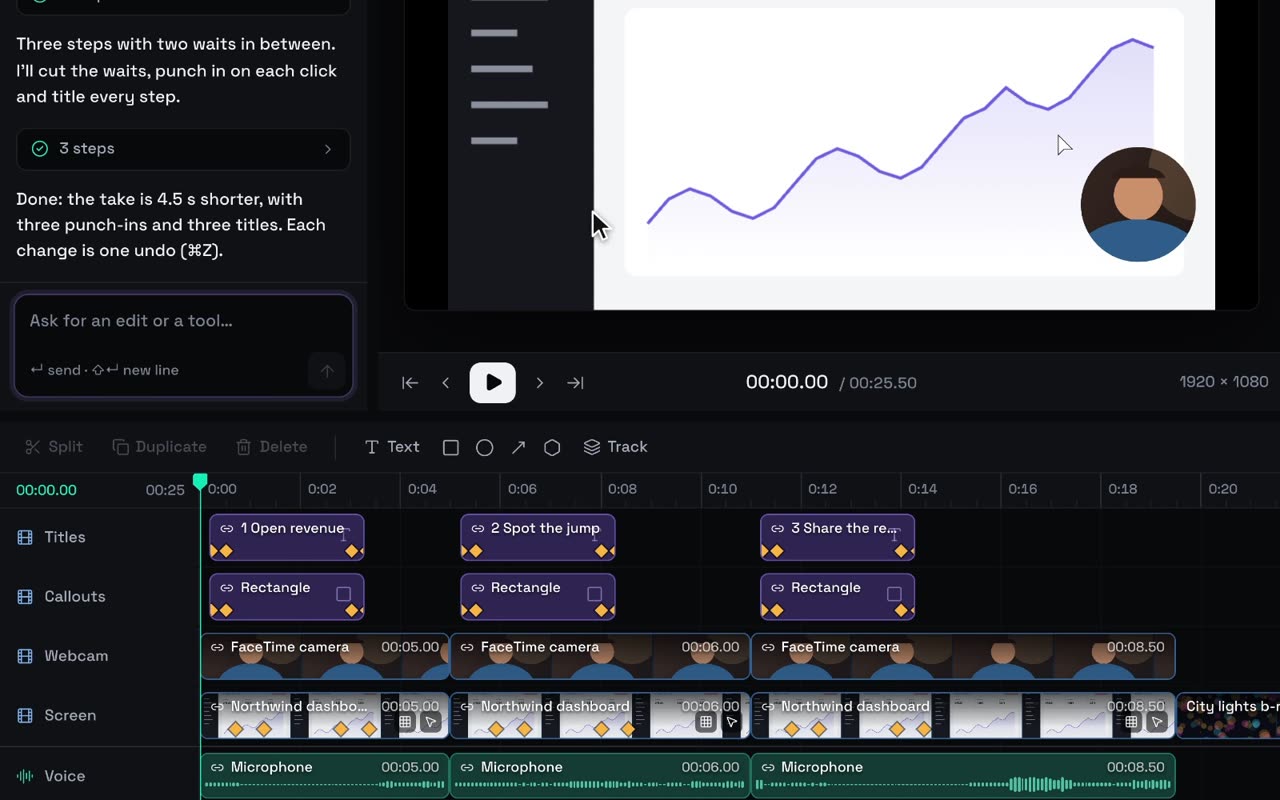
Studio’s inspector covers the everyday controls. For the rest, you have your agent. Describe a control in plain words and it writes a small panel that sits next to the inspector and edits your video through Studio’s own editing commands. In this guide your agent builds a brand lower third for an app called Northwind. You’ll try it, keep it and change it, without writing a line of code yourself.
How a tool works
A tool is one TSX file: a React component that uses three things Studio supplies. React is React. StudioUI is Studio’s own kit of panels, sliders, fields and buttons, so the tool looks native. studio is the editing SDK. There are no imports, no npm packages, no network calls and no build step. Studio compiles the file on your Mac.
The tool runs in the right pane, in its own restricted web view, walled off from the rest of Studio. It can read the project and your selection, preview changes and send typed edits. It never sees file paths, your account or your agent conversation. It’s saved inside the project folder, so it travels with that project.
Building a tool and using it are separate steps, and each has exactly one effect:
| Step | Who does it | What happens | What it can’t do |
|---|---|---|---|
| Candidate | Your agent submits it | The panel appears. It can read the project and preview changes live | Change your project or ask for paid generation |
| Keep tool | You | The tool is installed as a tab in this project | Change your video or approve a charge |
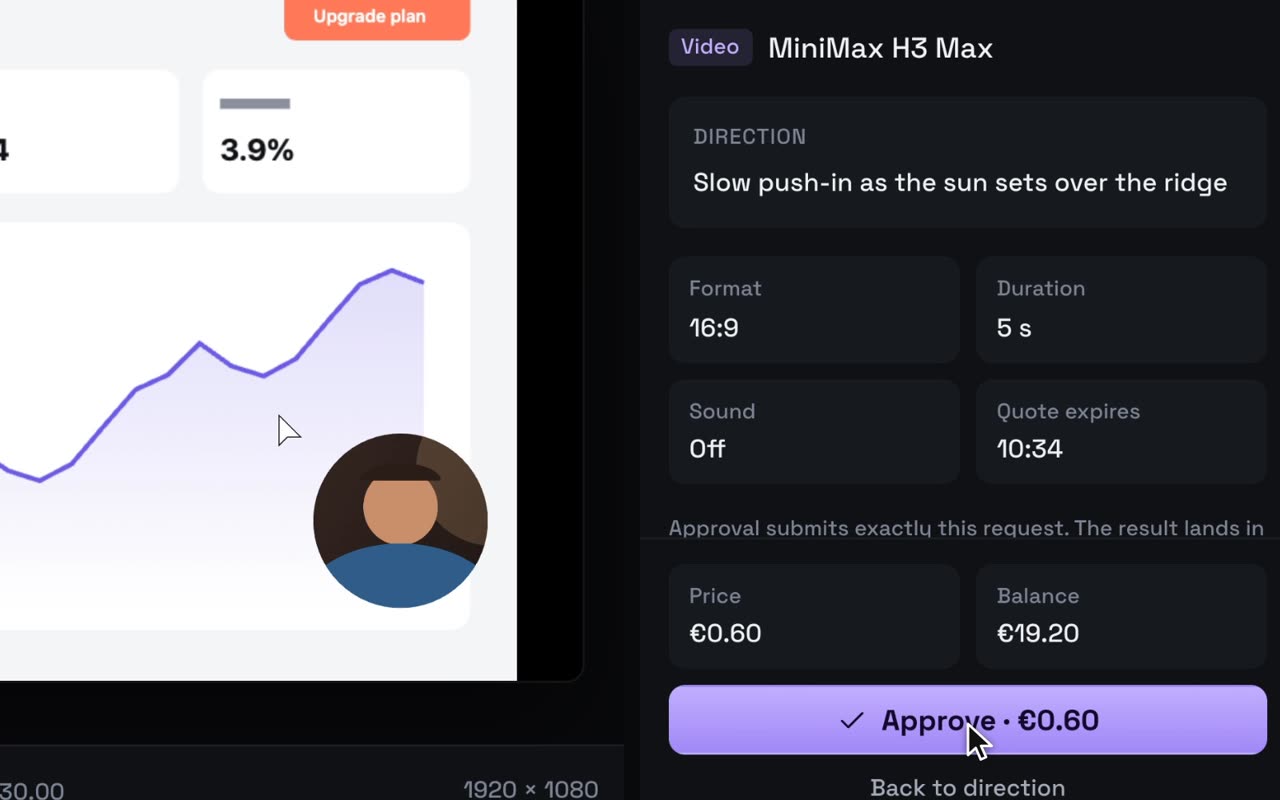
| Apply (the tool’s own button) | You, inside the tool | One edit lands on the timeline, undoable like any other | Approve a paid request. That always gets Studio’s own price review |
Before you start
Connect Claude Code or Codex in the Agent panel first (Connect the coding agent you already use). Then open a project with some footage. Help ▸ Open Sample Project works if you just want to play.
1. Open the New tool page
There are three ways in:
- the + at the end of the right pane’s tabs (Build a new tool with your agent),
- right-click a clip and choose Build a tool for this clip…,
- Missing a control? at the bottom of the inspector.
The page asks What control do you wish you had? and suggests ideas that fit what you’ve selected. Clicking an idea, or Describe your own tool, puts an editable request in the Agent composer. Nothing is sent until you press Return. Open More ideas and you’ll find a ready-made Lower third request under Text and graphics, a good starting point to edit.
2. Describe the tool
Be as specific as you would with a colleague: the controls you want, the exact colors, the units, and where things should land. Here’s the request for Northwind:
Build a "Brand lower third" tool for Northwind. I type the product name and a one-line tagline, pick a duration from 2 to 6 seconds, and press a button that adds them at the playhead: a dark #0E1116 plate with a 4 px teal #14F0B8 outline, and white two-line text on top. It slides in from the left over 0.4 s and fades out over the last 0.3 s. Put the plate and the text on their own tracks.
Tip
Put your brand in the request. Tools can’t store settings between sessions, so colors and sizes written into the tool’s source mean every lower third comes out on brand, every time.
Your agent first reads Studio’s SDK declarations and four worked examples, then writes the file and submits it. If Studio’s compiler reports a problem, the agent fixes it and resubmits before replying. When it’s done, the conversation says “Brand lower third” is ready to try.
3. Try the candidate
The panel opens in the right pane. Its tab carries a New badge, and a banner reads Trying a new tool: Previews stay temporary. Keep it to apply edits.
This is your test drive. Does it read like the rest of Studio? Are the labels clear? Does it say something sensible when nothing is selected? A candidate can’t change your project, so the lower third’s add button stays disabled, with a note asking you to keep the tool first. Tools that adjust a clip you already have, like a zoom, a blur or audio fades, preview live on the video at this stage. In the loop at the top of this page, Zoom punch-in’s slider moves the picture while its Apply button waits.
Something off? Choose Ask to change this tool… at the bottom of the panel and say what to fix. If Studio can’t run the tool at all, you’ll see This tool needs a small fix with an Ask agent to fix button. Either way, your timeline is untouched.
4. Keep it, then use it
Choose Keep tool. The lower third gets its own tab next to Inspect. Move the playhead to where Northwind first appears, check the name and tagline, and press the tool’s add button. Ours reads Add at 00:03.20, because the agent showed the playhead time on it. The plate and the text land together as one step on the timeline, and ⌘Z takes both back.
When you reopen the project later, your kept tools are waiting as tabs. Studio doesn’t run one until you open it, and its fields start fresh each time.
5. Change it later
Improvements work the same way. With the tool open, choose Ask to change this tool…:
Add a Top / Bottom switch to the lower third, and keep the fade-out a little longer: 0.5 s.
The new version arrives as a candidate. Its tab shows Update and the banner offers Keep update. Until you choose it, the version you kept stays installed. If you keep an update and regret it, the circular-arrow button at the bottom of the tool (Revert tool to previous version) brings back the previous one.
Prefer to tinker yourself? The code button (Edit tool source) opens the file as panel.tsx. Change it and choose Preview tool, and it comes back as a candidate like any other.
What’s inside
You never have to read it, but it’s reassuringly ordinary. Here’s the shape of a tool like this one, trimmed to the parts that matter:
// panel.tsx: one file, no imports. React, StudioUI and studio are supplied.
export default function Panel() {
  const context = StudioUI.useStudioContext();
  const playhead = StudioUI.usePlayhead();
  const [name, setName] = React.useState("Northwind");
  const [tagline, setTagline] = React.useState("Revenue, at a glance.");

  function add() {
    const commands: Studio.Command[] = [
      // Trimmed: two insertTrack commands (plate below, text above), then two inserts,
      // a rectangle and a two-line text item at the playhead with x and opacity keyframes.
    ];
    void studio.apply(`Add lower third “${name.trim()}”`, commands);
  }

  return (
    <StudioUI.Panel
      title="Brand lower third"
      footer={
        <StudioUI.Button variant="primary" icon="plus" disabled={!context.canCommit} onClick={add}>
          Add at <StudioUI.Timecode ticks={playhead} />
        </StudioUI.Button>
      }
    >
      <StudioUI.TextField label="Name" value={name} onChange={setName} maxLength={40} />
      <StudioUI.TextField label="Tagline" value={tagline} onChange={setTagline} maxLength={60} />
      {!context.canCommit && <StudioUI.Notice>Keep this tool to add lower thirds.</StudioUI.Notice>}
    </StudioUI.Panel>
  );
}
context.canCommit is false while the tool is a candidate, which is why the button is disabled. Studio enforces the same rule on its side, so a candidate can’t edit even if its code tries. studio.apply sends the commands as one labeled, undoable edit, checked against the project’s current revision.
What a tool can’t do
- Touch your files, the network or your accounts. Its web view exposes none of them.
- Spend your money. A kept tool can open Studio’s price review for an image or a video. Only you can approve it.
- Edit as a candidate. Previews are temporary until you keep the tool.
Studio doesn’t sandbox your agent itself, though. In the Agent panel, Claude Code uses only Studio’s tools unless you turn on Settings ▸ Agents ▸ Let Claude Code use its own tools and your connectors. Codex, and any agent in your terminal, runs with its own permissions on your Mac, as it always does.
Note
Driving Studio from a terminal agent instead? It builds panels the same way, and can keep one for you when you ask. Keeping still never changes your video or spends anything.
What it cost
Nothing on Hubfluencer. Building, keeping and using tools is local editing, and local editing is free. Your agent’s work counts against your own Claude or ChatGPT plan, as usual.
Next
- Music, voice and generated shots: what Studio can generate for you, and how a price gets approved.
- A product ad from one photo: a 15-second ad for €1.90, start to finish.